Stable Diffusion + Hugging Face 自動お絵かきAI 上手な使い方
以前にSTABLE DIFFUSION + HUGGING FACE 自動お絵かきAI 簡単に使ってみたの記事を
書きましたが、いまいちプロンプト(絵を作成するときの文字)作成が難しいです。
今回、多少、上手に作成するためのコツが少し分かったので、説明していこうと思います。
また、生成した画像の背景除去・アップスケールなどの方法も、紹介したいと思います。
プロンプトの構成
Stable Diffusionを使って絵を出す方法は、以前の記事を参考にして頂ければと思います。
ここではプロンプトに絞って記載します。
Stable Diffusionのプロンプトのおすすめの構成は、以下のようになります。
プロンプトの特徴として、前の方ほど重要度が高くなる傾向があります。
<主題>, <主題の状況>, <主題の背景>, <主題を描くスタイル>, <調整ワードA>, <調整ワードB>, …ロゴの作成
プロンプトは英語入力になりますので、この構成に沿って日本語を英訳していく必要があります。
今回は「副業エージェント会社のロゴ作成」と言う仮題で、例を示していきたいと思います。
※翻訳にはDeepLを使用しました。
詳細に描かれたロゴのイラストデザイン、副業エージェント会社のロゴ、シンプルで太く明確な輪郭線、全体を埋める、アイコン的に、ミニマリストDetailed logo illustration design, logo for a sideline agency company, simple, thick and clear outlines, fill in the whole, iconic, minimalist.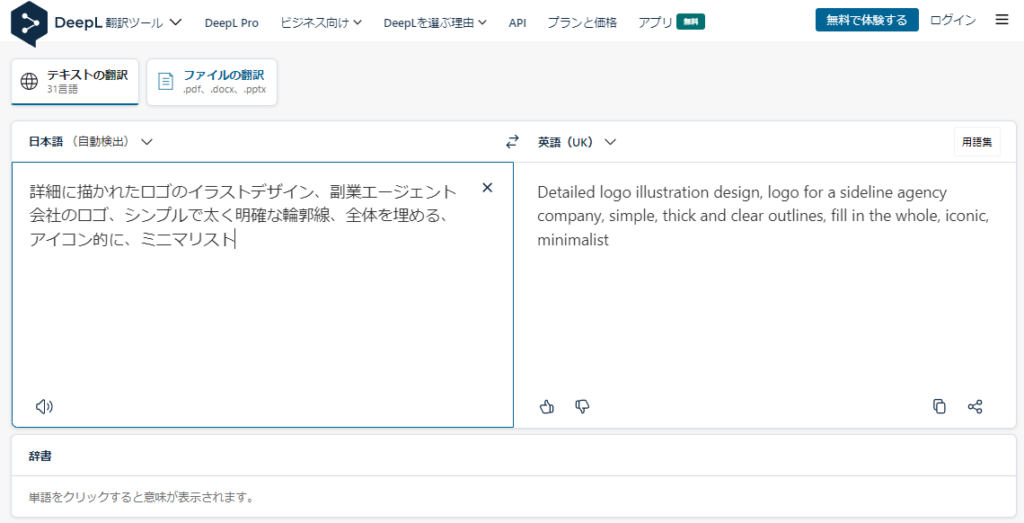
この文章で、以下の設定で30枚生成させてみました。その中から良さそうなものを紹介します。
使用モデル : prompthero/openjourney
image = pipe(prompt, guidance_scale=10, num_inference_steps=50).images[0]

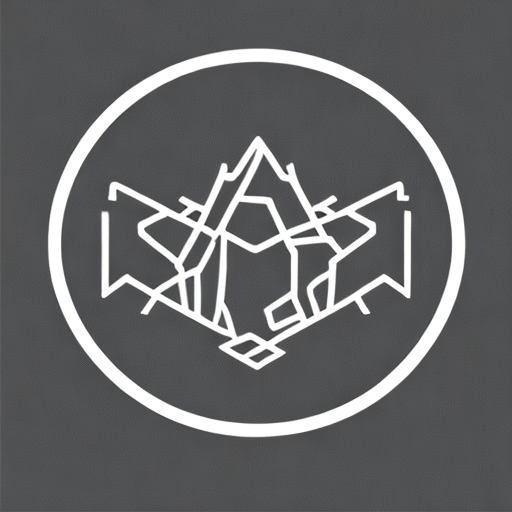


「副業エージェント会社」が漠然としているため、これ!と言うものが作られませんでしたが、
雰囲気としてのロゴはできていると思います。具体的にイメージが浮かぶ題材を元にすると、
より良いロゴが作成されることと思います。
風景の作成
同様に、風景を作成してみようと思います。
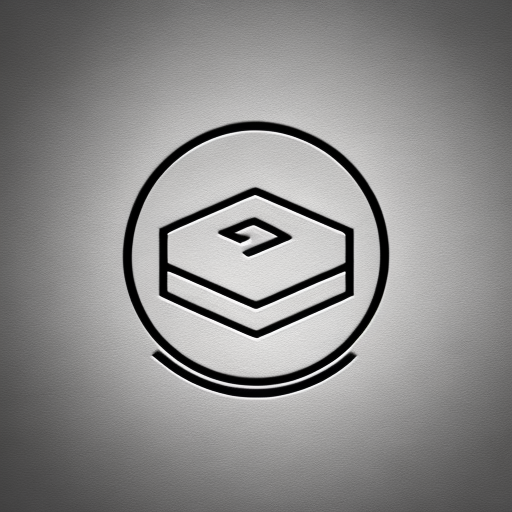
詳細に描かれた都市の風景、高速道路、少女の後ろ側からの視点、黒い短い髪、荒廃した都市、巨大な木、荒廃した天空、茂みと草原、夏の空、空撮、新海誠映画の背景Detailed urban landscape, motorway, girl's back view, short black hair, devastated city, huge trees, devastated sky, bushes and meadows, summer sky, aerial shot, background of Makoto Shinkai film.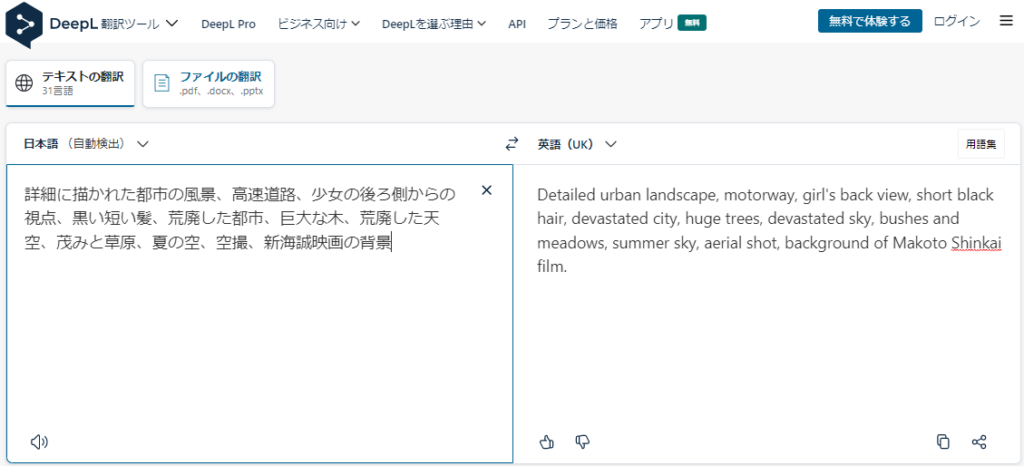
この文章で、以下の設定で10枚生成させてみました。その中から良さそうなものを紹介します。
使用モデル : prompthero/openjourney
image = pipe(prompt, guidance_scale=10, num_inference_steps=50).images[0]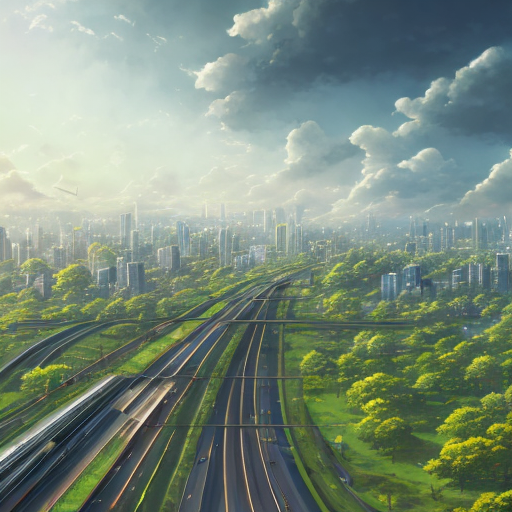
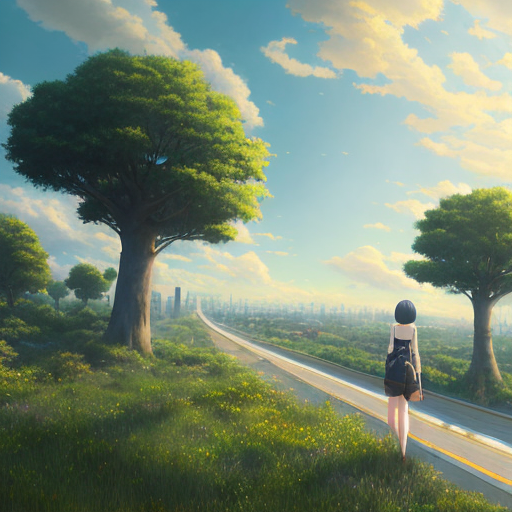
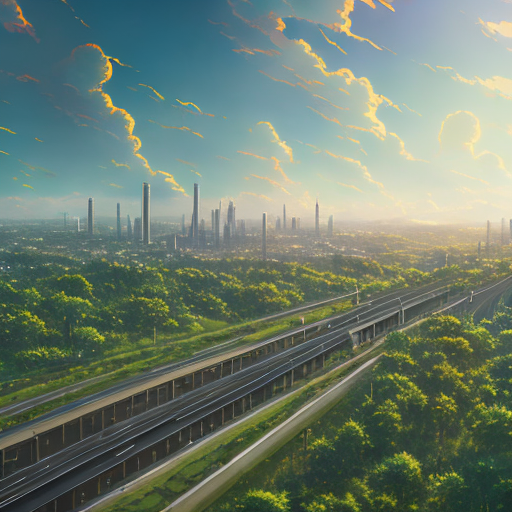
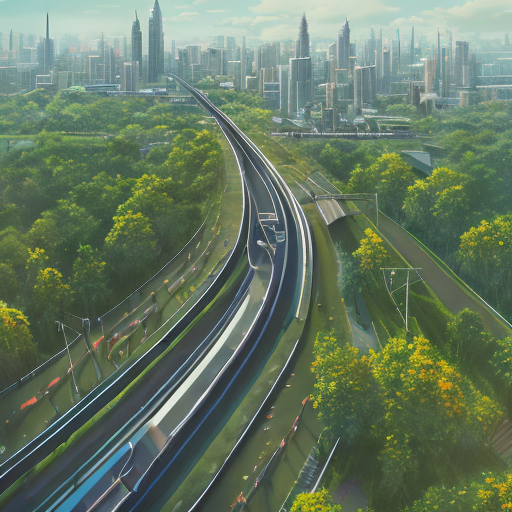
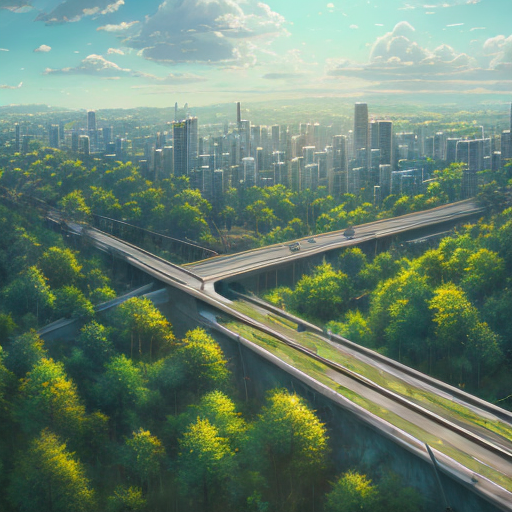
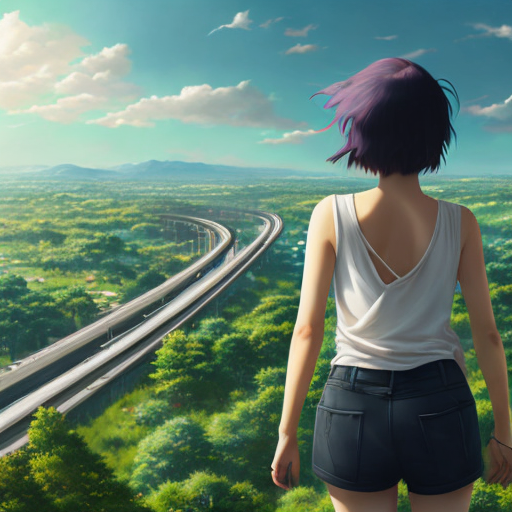
かなり世界観が出ています。構成を考慮すると、まだ経験の浅い私でも結構な絵を出力できます。
背景の除去
背景の除去には「Rembg」というライブラリを使用します。
先ほど作成したロゴと風景のうち、以下のものを使用してみることにします。
!pip install rembg「RESTART RUNTIME」が出ますが、ボタンを押下して続けましょう。
from rembg import remove
from PIL import Image

input_path = 'input.png'
output_path = 'output.png'

input = Image.open(input_path)
output = remove(input)
output.save(output_path)
from IPython.display import Image,display_png
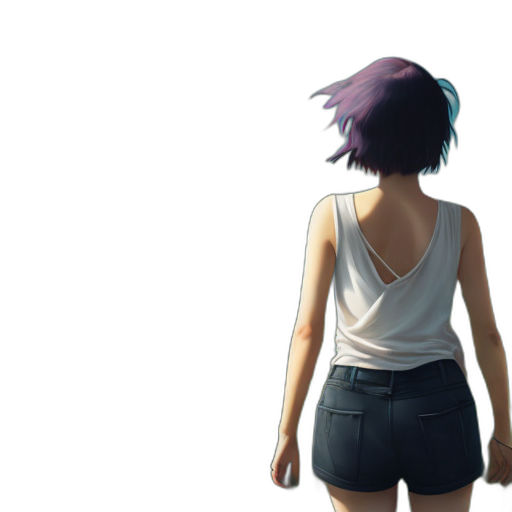
display_png(Image("output.png"))綺麗に背景が取り除けています。
このライブラリの凄いところは、ロゴのような画像だけではなく、
風景のような画像でも、人物等を自動判定して背景のみを削除してくれるところです。

アップスケール①
最初から解像度の大きい画像を作成すると、処理が重くて大変になります。
そこで、細かい描画部分を補完しつつ解像度を高めてくれるライブラリを使用します。
「Real-ESRGAN」と言うライブラリです。
Google Colaboratoryのデモページは下記です。
「3. Inference」内のコードにある通り、任意の倍率でアップスケールできます。
https://colab.research.google.com/drive/1k2Zod6kSHEvraybHl50Lys0LerhyTMCo?usp=sharing
※画像サイズが大きいとGPUメモリの上限を超えるので、注意してください。
## 1. Preparations

# Clone Real-ESRGAN and enter the Real-ESRGAN
!git clone https://github.com/xinntao/Real-ESRGAN.git
%cd Real-ESRGAN
# Set up the environment
!pip install basicsr
!pip install facexlib
!pip install gfpgan
!pip install -r requirements.txt
!python setup.py develop
## 2. Upload Images
import os
from google.colab import files
import shutil
upload_folder = 'upload'
result_folder = 'results'
if os.path.isdir(upload_folder):
shutil.rmtree(upload_folder)
if os.path.isdir(result_folder):
shutil.rmtree(result_folder)
os.mkdir(upload_folder)
os.mkdir(result_folder)
# upload images
uploaded = files.upload()
for filename in uploaded.keys():
dst_path = os.path.join(upload_folder, filename)
print(f'move {filename} to {dst_path}')
shutil.move(filename, dst_path)## 3. Inference
# if it is out of memory, try to use the `--tile` option
# We upsample the image with the scale factor X3.5
!python inference_realesrgan.py -n RealESRGAN_x4plus -i upload --outscale 3.5 --face_enhance
# Arguments
# -n, --model_name: Model names
# -i, --input: input folder or image
# --outscale: Output scale, can be arbitrary scale factore. ## 4. Visualization
# utils for visualization
import cv2
import matplotlib.pyplot as plt
def display(img1, img2):
fig = plt.figure(figsize=(25, 10))
ax1 = fig.add_subplot(1, 2, 1)
plt.title('Input image', fontsize=16)
ax1.axis('off')
ax2 = fig.add_subplot(1, 2, 2)
plt.title('Real-ESRGAN output', fontsize=16)
ax2.axis('off')
ax1.imshow(img1)
ax2.imshow(img2)
def imread(img_path):
img = cv2.imread(img_path)
img = cv2.cvtColor(img, cv2.COLOR_BGR2RGB)
return img
# display each image in the upload folder
import os
import glob
input_folder = 'upload'
result_folder = 'results'
input_list = sorted(glob.glob(os.path.join(input_folder, '*')))
output_list = sorted(glob.glob(os.path.join(result_folder, '*')))
for input_path, output_path in zip(input_list, output_list):
img_input = imread(input_path)
img_output = imread(output_path)
display(img_input, img_output)## 5. Download Results
# Download the results
zip_filename = 'Real-ESRGAN_result.zip'
if os.path.exists(zip_filename):
os.remove(zip_filename)
os.system(f"zip -r -j {zip_filename} results/*")
files.download(zip_filename)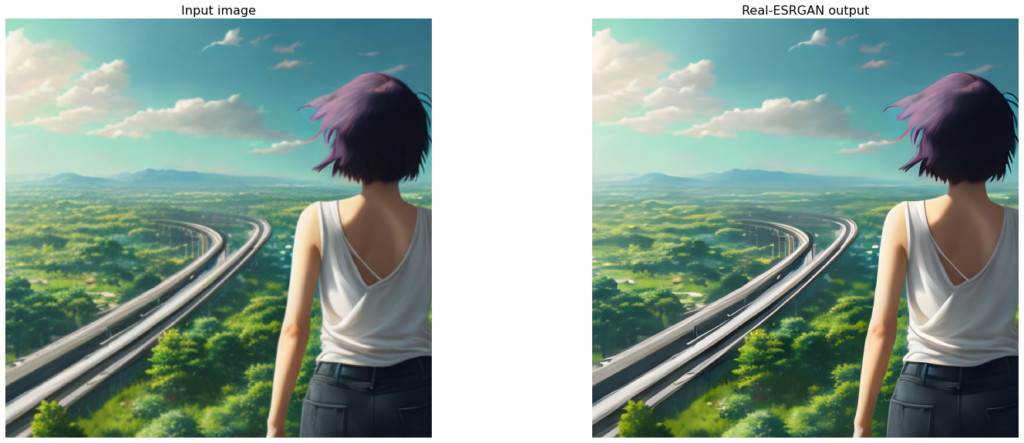
アップスケール②
アップスケールのライブラリには「SwinIR」と呼ばれるものもあるので、紹介します。
Google Colaboratoryのデモページは下記です。
「3. Inference」内のコードにある通り、任意の倍率でアップスケールできます。
https://colab.research.google.com/gist/JingyunLiang/a5e3e54bc9ef8d7bf594f6fee8208533/swinir-demo-on-real-world-image-sr.ipynb
デモページ内では、他のアップスケールライブラリとの比較も行われています。
使いたいライブラリ以外をコメントアウトすれば、使い勝手が良いかもしれません。
※画像サイズが大きいとGPUメモリの上限を超えるので、注意してください。
## 1. Preparations

# Clone realESRGAN
!git clone https://github.com/xinntao/Real-ESRGAN.git
%cd Real-ESRGAN
# Set up the environment
!pip install basicsr
!pip install facexlib
!pip install gfpgan
!pip install -r requirements.txt
!python setup.py develop

# Clone BSRGAN
!git clone https://github.com/cszn/BSRGAN.git

!rm -r SwinIR
# Clone SwinIR
!git clone https://github.com/JingyunLiang/SwinIR.git
!pip install timm

# Download the pre-trained models
!wget https://github.com/cszn/KAIR/releases/download/v1.0/BSRGAN.pth -P BSRGAN/model_zoo
!wget https://github.com/xinntao/Real-ESRGAN/releases/download/v0.1.0/RealESRGAN_x4plus.pth -P experiments/pretrained_models
!wget https://github.com/JingyunLiang/SwinIR/releases/download/v0.0/003_realSR_BSRGAN_DFO_s64w8_SwinIR-M_x4_GAN.pth -P experiments/pretrained_models
!wget https://github.com/JingyunLiang/SwinIR/releases/download/v0.0/003_realSR_BSRGAN_DFOWMFC_s64w8_SwinIR-L_x4_GAN.pth -P experiments/pretrained_models
## 2. Upload Images
import os
import glob
from google.colab import files
import shutil
print(' Note1: You can find an image on the web or download images from the RealSRSet (proposed in BSRGAN, ICCV2021) at https://github.com/JingyunLiang/SwinIR/releases/download/v0.0/RealSRSet+5images.zip.\n Note2: You may need Chrome to enable file uploading!\n Note3: If out-of-memory, set test_patch_wise = True.\n')
# test SwinIR by partioning the image into patches
test_patch_wise = False
# to be compatible with BSRGAN
!rm -r BSRGAN/testsets/RealSRSet
upload_folder = 'BSRGAN/testsets/RealSRSet'
result_folder = 'results'
if os.path.isdir(upload_folder):
shutil.rmtree(upload_folder)
if os.path.isdir(result_folder):
shutil.rmtree(result_folder)
os.mkdir(upload_folder)
os.mkdir(result_folder)
# upload images
uploaded = files.upload()
for filename in uploaded.keys():
dst_path = os.path.join(upload_folder, filename)
print(f'move {filename} to {dst_path}')
shutil.move(filename, dst_path)## 3. Inference
# BSRGAN
!rm -r results
if not test_patch_wise:
%cd BSRGAN
!python main_test_bsrgan.py
%cd ..
shutil.move('BSRGAN/testsets/RealSRSet_results_x4', 'results/BSRGAN')
# realESRGAN
if test_patch_wise:
!python inference_realesrgan.py -n RealESRGAN_x4plus --input BSRGAN/testsets/RealSRSet -s 4 --output results/realESRGAN --tile 800
else:
!python inference_realesrgan.py -n RealESRGAN_x4plus --input BSRGAN/testsets/RealSRSet -s 4 --output results/realESRGAN
# SwinIR
if test_patch_wise:
!python SwinIR/main_test_swinir.py --task real_sr --model_path experiments/pretrained_models/003_realSR_BSRGAN_DFO_s64w8_SwinIR-M_x4_GAN.pth --folder_lq BSRGAN/testsets/RealSRSet --scale 4 --tile 800
else:
!python SwinIR/main_test_swinir.py --task real_sr --model_path experiments/pretrained_models/003_realSR_BSRGAN_DFO_s64w8_SwinIR-M_x4_GAN.pth --folder_lq BSRGAN/testsets/RealSRSet --scale 4
shutil.move('results/swinir_real_sr_x4', 'results/SwinIR')
# SwinIR-Large
if test_patch_wise:
!python SwinIR/main_test_swinir.py --task real_sr --model_path experiments/pretrained_models/003_realSR_BSRGAN_DFOWMFC_s64w8_SwinIR-L_x4_GAN.pth --folder_lq BSRGAN/testsets/RealSRSet --scale 4 --large_model --tile 640
else:
!python SwinIR/main_test_swinir.py --task real_sr --model_path experiments/pretrained_models/003_realSR_BSRGAN_DFOWMFC_s64w8_SwinIR-L_x4_GAN.pth --folder_lq BSRGAN/testsets/RealSRSet --scale 4 --large_model
shutil.move('results/swinir_real_sr_x4_large', 'results/SwinIR_large')
for path in sorted(glob.glob(os.path.join('results/SwinIR_large', '*.png'))):
os.rename(path, path.replace('SwinIR.png', 'SwinIR_large.png')) # here is a bug in Colab file downloading: no same-name files## 4. Visualization
# utils for visualization
import cv2
import matplotlib.pyplot as plt
def display(img1, img2):
total_figs = 5
fig = plt.figure(figsize=(total_figs*12, 14))
ax1 = fig.add_subplot(1, total_figs, 1)
plt.title('Input image', fontsize=30)
ax1.axis('off')
ax2 = fig.add_subplot(1, total_figs, 2)
plt.title('BSRGAN (ICCV2021) output', fontsize=30)
ax2.axis('off')
ax3 = fig.add_subplot(1, total_figs, 3)
plt.title('Real-ESRGAN output', fontsize=30)
ax3.axis('off')
ax4 = fig.add_subplot(1, total_figs, 4)
plt.title('SwinIR (ours) output', fontsize=30)
ax4.axis('off')
ax5 = fig.add_subplot(1, total_figs, 5)
plt.title('SwinIR-Large (ours) output', fontsize=30)
ax5.axis('off')
ax1.imshow(img1)
ax2.imshow(img2['BSRGAN'])
ax3.imshow(img2['realESRGAN'])
ax4.imshow(img2['SwinIR'])
ax5.imshow(img2['SwinIR-L'])
def imread(img_path):
img = cv2.imread(img_path)
img = cv2.cvtColor(img, cv2.COLOR_BGR2RGB)
return img
# display each image in the upload folder
print('Note: BSRGAN may be better at face restoration, but worse at building restoration because it uses different datasets in training.')
if test_patch_wise:
print('BSRGAN does not support "test_patch_wise" mode for now. Set test_patch_wise = False to see its results.\n')
else:
print('\n')
input_folder = upload_folder
result_folder = 'results/SwinIR'
input_list = sorted(glob.glob(os.path.join(input_folder, '*')))
output_list = sorted(glob.glob(os.path.join(result_folder, '*')))
for input_path, output_path in zip(input_list, output_list):
img_input = imread(input_path)
img_output = {}
img_output['SwinIR'] = imread(output_path)
img_output['SwinIR-L'] = imread(output_path.replace('SwinIR/', 'SwinIR_large/').replace('SwinIR.png', 'SwinIR_large.png'))
if test_patch_wise:
img_output['BSRGAN'] = img_output['SwinIR']*0+255
else:
img_output['BSRGAN'] = imread(output_path.replace('SwinIR', 'BSRGAN'))
path = output_path.replace('/SwinIR/', '/realESRGAN/').replace('_SwinIR.png','_out{}'.format(os.path.splitext(input_path)[1]))
if os.path.exists(path):
shutil.move(path, path.replace('_out.', '_realESRGAN.'))
img_output['realESRGAN'] = imread(path.replace('_out.', '_realESRGAN.'))
display(img_input, img_output)## 5. Download Results
# Download the results
zip_filename = 'SwinIR_result.zip'
if os.path.exists(zip_filename):
os.remove(zip_filename)
os.system(f"zip -r -j {zip_filename} results/*")
files.download(zip_filename)
まだまだ上手に使うための方法はたくさんあると思いますが、とりあえずここまで。

- kaji0620
- 中国発のLLM Xwin-LM ローカル環境で動かしてみた 2023年10月31日
- Python PDFファイルをテキストファイルに変換してみる 2023年7月2日
- Rinna社の日本語特化GPT言語モデル Google Colabの無料枠で動かしてみた 2023年7月2日
- ReazonSpeech 日本語に適した音声認識モデル・自動書き起こしAIを試してみた 2023年4月30日
- Dolly 2.0 + Hugging Face + googletrans LLMを翻訳機能と合わせてみた 2023年4月22日